Simple installation is the point of our interlocking tiles. If you follow these straightforward guidelines you’ll have a smart, hard wearing floor installed in just a few hours.
1. Allow the tiles to acclimatise. Installation should not take place at temperatures below 15ºC. The tiles must be allowed to acclimatise to the ambient room temperature prior to starting installation, we recommend you allow 24 hours.
2. Preparation. Sweep or vacuum the floor to remove any loose impediments. Remove any high points in the floor. Fill any holes with a suitable floor repair compound.
3. Setting Out. It is essential that the tiles are kept square to each other at all times. We strongly recommend that you use a chalk line; laser line or carpenters square to set out the site and to ensure that the tiles are kept at right angles to each other.
4. Installation Method. Once you have identified your starting point and created your straight lines it’s time to start fitting the tiles. Lay the tiles out on the floor, this will allow them to settle. Connect the tiles together by lining up the corner of the tile and ensure the joints are in line. Starting from the corner use your rubber mallet to gently tap the joints together. HINT: If the joints don’t fit together easily, chances are you are doing something wrong. The first sign of trouble will always be if the tiles do not connect together with a simple tap of the hammer, this will indicate that the tiles are not lined up correctly or are going out of square.
So, by following our simple installation method the bulk of your tiles are down. Now it’s time to finish your floor with these easy steps.
1. Leave a minimum of a 5mm gap between the tiles and any fixed point (walls and machinery)
2. Cover the 5 mm expansion gap between the tiles and the walls with skirting profiles.
3. Undercut wood doorjambs and slip the tiles underneath.
4. With metal doorjambs – cut the flooring material to within 5mm & then caulk around the jamb.
5. Use ecotile ramp and corner sections (E500/7 & 10) or dim strips for E500/6.
6. The tiles may require gluing if they will be in direct sunlight.
7. To keep yout floor looking good give it a sweep on a regular basis and use a rotary scrubber dryer for routine maintenance.
8. Leave a minimum of a 5mm gap between the tiles and any fixed point (walls and machinery)
As you can see our interlocking tiles really do come top of the simple installation league table!
Click here for the pdf with these guidelines including diagrams and pictures Installation pdf
Click here to see our videos showing how to install Ecotile Ecotile video installation guides

CEO and founder James Gedye has established Ecotile as the leading provider of interlocking floor tiles to the UK and around the world. Founded in 1996 from his bedroom turned office, James has built Ecotile into a multi-million-pound business, with sustainability still at the heart of his vision.
Based in Luton, Bedfordshire, Ecotile remains a privately owned UK manufacturing company, precision engineering all products in a purpose-built ISO accredited factory.
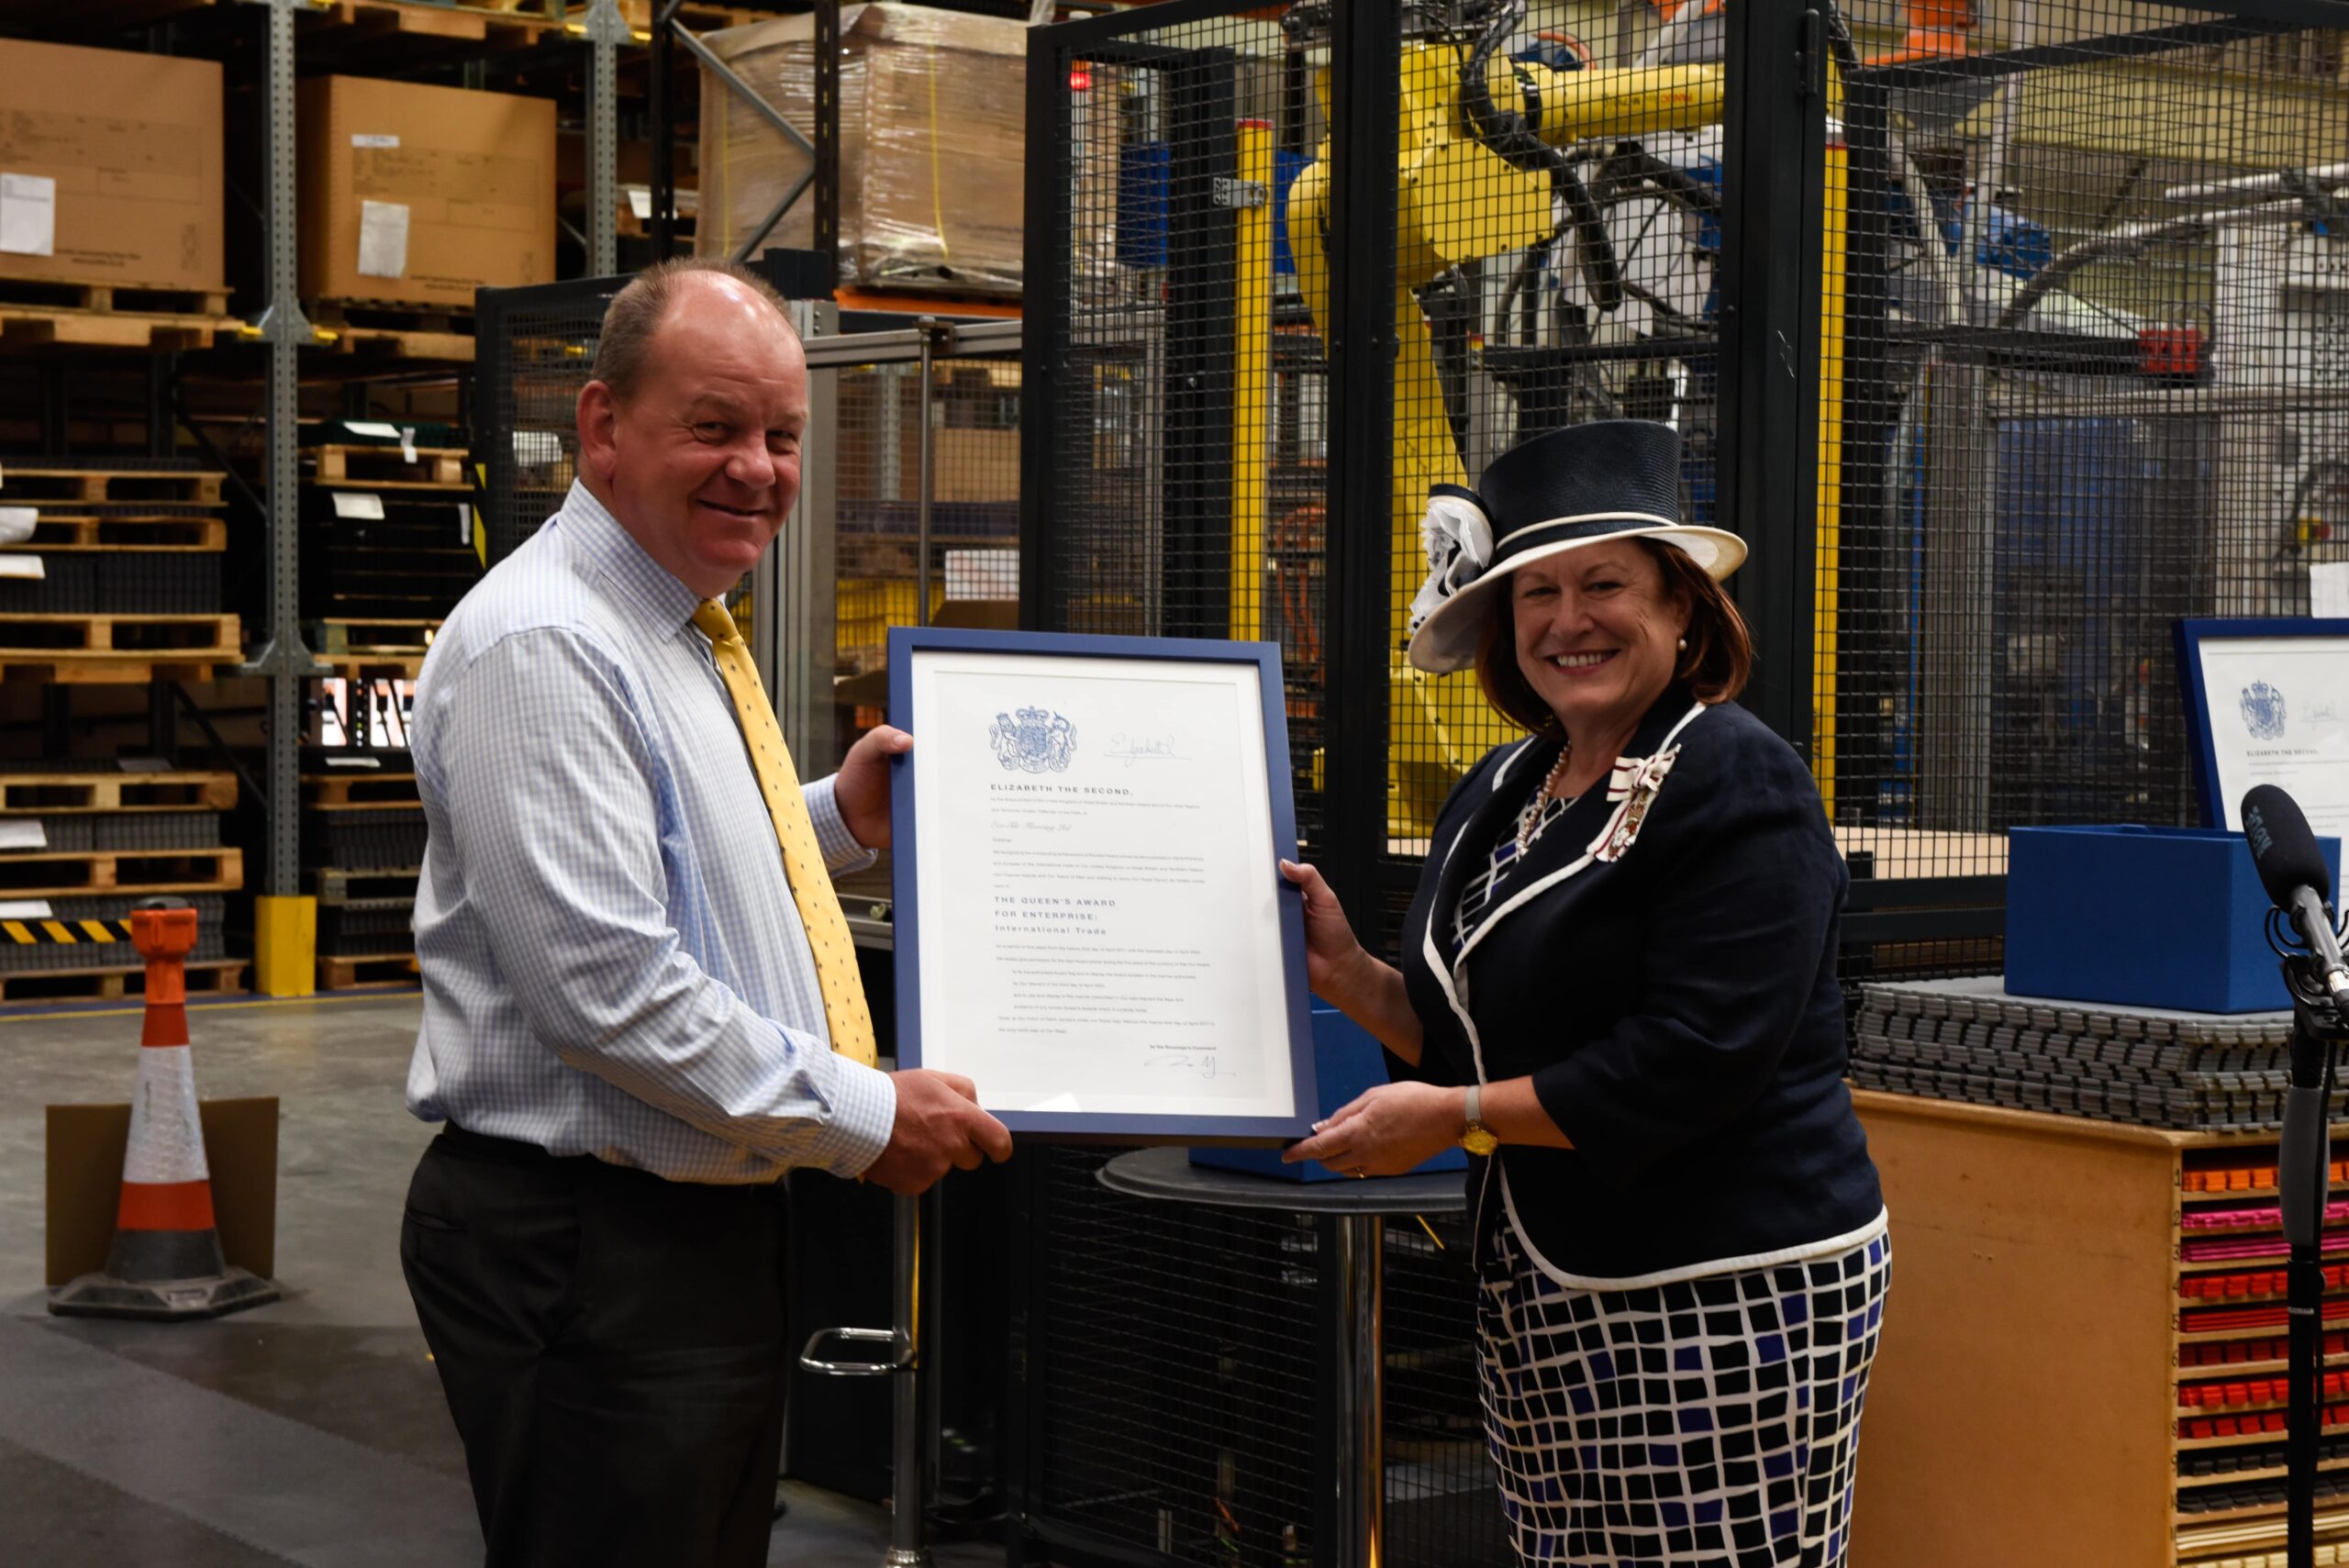
Leading the company to 2 prestigious Queens Awards in 2017 for Enterprise for Innovation and International Trade, these accolades underline James’ desire to create the highest quality products and fly the flag for British manufacturing. Working directly with leading businesses for over 25 years, James’ Ecotile brand has become synonymous with trust.
Used by 1000s of leading businesses, trusted by the MoD and specified by contractors, Ecotile floor tiles can be found across the world.
Connect or follow James on LinkedIn…

